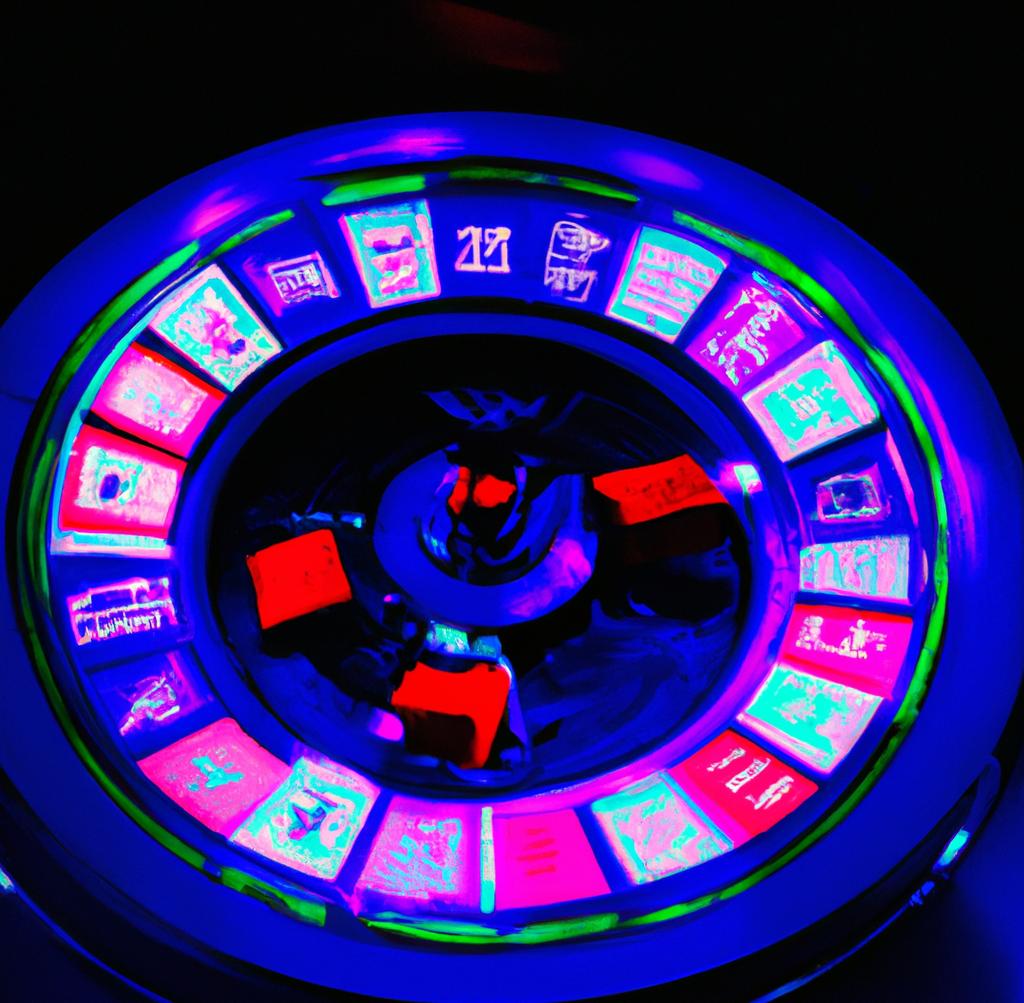
A roulette wheel is a must-have for any casino night or party. But if you don’t have a casino nearby, or you want to add a personal touch to your event, you can make your own roulette wheel at home.
It’s actually not as difficult as it might seem. With a few supplies and some patience, you can create a professional-looking roulette wheel that will add excitement and flair to any gathering.
Exclusive Bonus on Real Money Roulette - Reliable US Casinos:
-
500% + 150 FS 1st Deposit
-
-
Here’s what you’ll need to make your own roulette wheel:
-A large circular board or piece of cardboard
-A smaller circular board or piece of cardboard for the center of the wheel
-A sharp knife
-A hot glue gun and glue sticks
-Paint or markers (optional)
-Roulette chips (optional)
Instructions:
1. Cut the large circular board into a perfect circle.
If you’re using cardboard, be sure to cut along the corrugated lines so that the circle is strong and won’t warp.
PRO TIP:If you’re looking to make a roulette wheel at home, you’ll need access to a few materials and some basic woodworking tools. Start with a sturdy wooden board and use a jigsaw to cut out a circle. Attach the board to a stand or base, then add the pockets and numbers. Finally, mount the wheel onto the stand or base and spin it to start playing!
2. Cut the smaller circular board or piece of cardboard into a smaller circle that will fit snugly into the center of the larger circle.
This will be the center of your roulette wheel.
3. Use the knife to cut evenly spaced notches around the edge of the large circle.
These notches will serve as guideposts for gluing on the spokes later.
4. To make the spokes, cut thin strips of cardboard or paper.
The length of each strip will depend on how big you want your roulette wheel to be. For a standard sized wheel, each strip should be about 10 inches long.
5. Hot glue one end of each strip to the back side of the large circle, aligning the strips with the notches you cut earlier.
Allow the glue to dry completely before proceeding to the next step.
6. Once all of the strips are glued in place, flip the large circle over so that the front side is facing up.
Then, hot glue the smaller center circle in place on top of the spokes. Again, allow the glue to dry completely before moving on.
7. Your roulette wheel is now assembled! If desired, you can paint or decorate it however you like.
8. To use your roulette wheel, simply spin it and watch where the ball lands! You can use real Roulette chips (available at most gaming stores) or create your own with different colored pieces of paper or foil.
Making your own Roulette wheel is a fun and easy project that anyone can do! With just a few supplies and some patience, you’ll have a professional looking Roulette wheel that will add excitement and flair to any party or event.
Have fun and happy spinning!.
9 Related Question Answers Found
There are a few ways to spin a roulette wheel. The most common way is to use a special device called a croupier’s stick, which is a long pole with a hooked end. The croupier inserts the stick into the spinning wheel and gives it a spin.
Exclusive Bonus on Real Money Roulette - Reliable US Casinos:
500% + 150 FS 1st Deposit
Ducky Luck Review
Platinum Reels Casino Review
Diamond Reels Casino Review
Another way to spin the wheel is to use your hand.
A roulette wheel is a must-have for any casino or gambling-themed party. You can make your own wheel at home using a few household items. It’s a fun and easy project that will provide hours of entertainment.
Exclusive Bonus on Real Money Roulette - Reliable US Casinos:
500% + 150 FS 1st Deposit
Ducky Luck Review
Platinum Reels Casino Review
Diamond Reels Casino Review
To make a roulette wheel, you’ll need a large circular object like a garbage can lid, a pizza pan, or a large serving platter.
There are two ways to spin a roulette wheel. The first way is clockwise, and the second way is counterclockwise. Most people believe that the best way to spin a roulette wheel is clockwise.
There are a few ways to time a roulette wheel. The most common is by using a roulette clock. This is a special clock that is designed specifically for roulette.
Roulette is a casino game named after the French word meaning little wheel. In the game, players may choose to place bets on either a single number, various groupings of numbers, the colors red or black, whether the number is odd or even, or if the numbers are high (19–36) or low (1–18). To determine the winning number and color, a croupier spins a wheel in one direction, then spins a ball in the opposite direction around a tilted track running around the outer edge of the wheel.
Roulette is a casino game named after the French word meaning little wheel. In the game, players may choose to place bets on either a single number or a range of numbers, the colors red or black, or whether the number is odd or even. To determine the winning number and color, a croupier spins a wheel in one direction, then spins a ball in the opposite direction around a tilted track running around the outer edge of the wheel.
A roulette wheel is a casino game that has been around for centuries. The game is simple: players bet on which number the ball will land on when the wheel stops spinning. There are many different ways to bet, and the payout depends on how unlikely the bet is.
Roulette is a casino game named after the French word meaning little wheel. In the game, players may choose to place bets on either a single number, various groupings of numbers, the colors red or black, whether the number is odd or even, or if the numbers are high (19–36) or low (1–18). To determine the winning number and color, a croupier spins a wheel in one direction, then spins a ball in the other direction around a tilted circular track running around the circumference of the wheel.
There are a few ways that players have tried to manipulate a roulette wheel over the years. The most common method is by trying to influence the spin of the ball. Players will try to do this by using their body or a piece of clothing to nudge the ball in a particular direction.