
When it comes to creating a custom poker table, the options are limitless. However, an 8-sided poker table is a popular choice among poker enthusiasts. It provides ample space for up to eight players while still maintaining a compact and elegant design.
If you’re wondering how to make an 8-sided poker table from scratch, this tutorial is for you. In this guide, we’ll cover everything you need to know about building your very own customized poker table.
First things first – gather the necessary materials. Here’s what you’ll need:
– Plywood sheets (4′ x 8′)
– Foam padding
– Vinyl fabric
– Felt fabric
– Spray adhesive
– Staple gun
– Circular saw
– Jigsaw
– Sandpaper
– Measuring tape and pencil
Once you have all the materials ready, let’s move on to the construction process.
Step 1: Cutting the Plywood Sheets
Start by cutting the plywood sheets into eight equal pieces of trapezoid shape using a circular saw. The dimensions of each piece should be 22 inches wide at the top, 47 inches wide at the bottom, and 48 inches in height.
Step 2: Creating the Frame
Next, create a frame for your table using four of these trapezoid-shaped plywood pieces. Join them together using screws or nails to form an octagon shape. Reinforce it with additional supports if needed.
Step 3: Adding Foam Padding
Now it’s time to add foam padding on top of your plywood frame. Cut out eight pieces of foam padding that are slightly larger than each panel of your octagon-shaped plywood frame. Use spray adhesive to attach them onto each panel securely.
Step 4: Attaching Vinyl Fabric
Once you have added foam padding onto each panel, take vinyl fabric and cut out eight pieces that are slightly larger than each panel as well. Use spray adhesive to attach the vinyl fabric onto the foam padding. Make sure that the fabric is stretched tightly to avoid any wrinkles or bumps.
Step 5: Adding Felt Fabric
Now, it’s time to add felt fabric to your poker table. Cut out a piece of felt fabric that is slightly larger than the entire table.
Place it on top of your vinyl-covered octagon-shaped plywood frame and use a staple gun to attach it onto the bottom of your plywood frame. Make sure that the felt is stretched tightly and covers all edges smoothly.
Step 6: Cutting Out Cup Holders
To add cup holders, place your poker table upside down and mark eight evenly spaced points on your plywood frame. Use a jigsaw to cut out holes at each marking, making sure they’re big enough to fit standard-sized cups or bottles.
Step 7: Finishing Touches
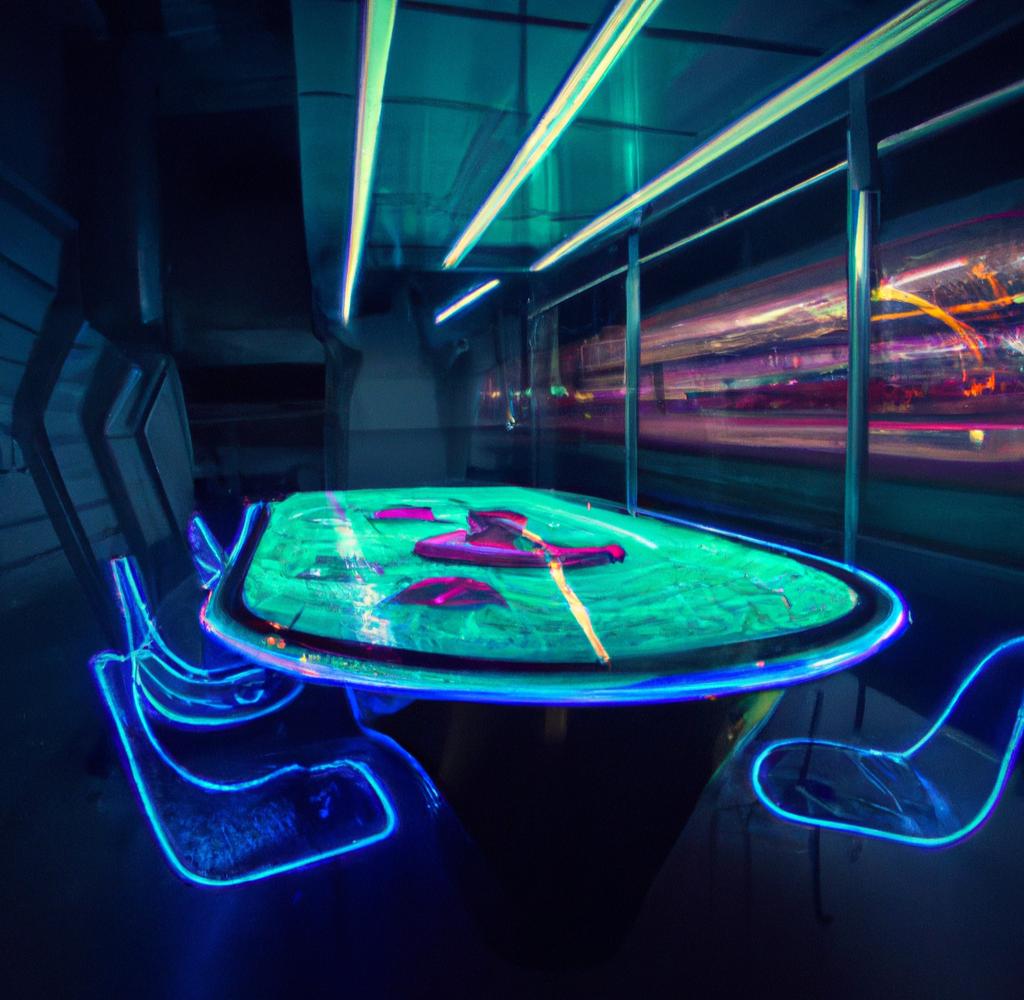
Finally, sand down any rough edges on your poker table and give it a final polish. You can also add decorative features such as LED lights or custom graphics to personalize your poker table further.
Congratulations! You now have a customized 8-sided poker table that you can be proud of. Invite some friends over for a game of Texas Hold’em and enjoy playing on your very own creation.
In conclusion, building an 8-sided poker table may seem like an overwhelming task at first glance, but with proper planning and execution, it can be done with ease. Follow these steps carefully and make sure to pay attention to every detail along the way. With patience and hard work, you’ll end up with a beautiful custom-made poker table that will last for years to come.
